昆山歐尼斯特電子科技有限公司
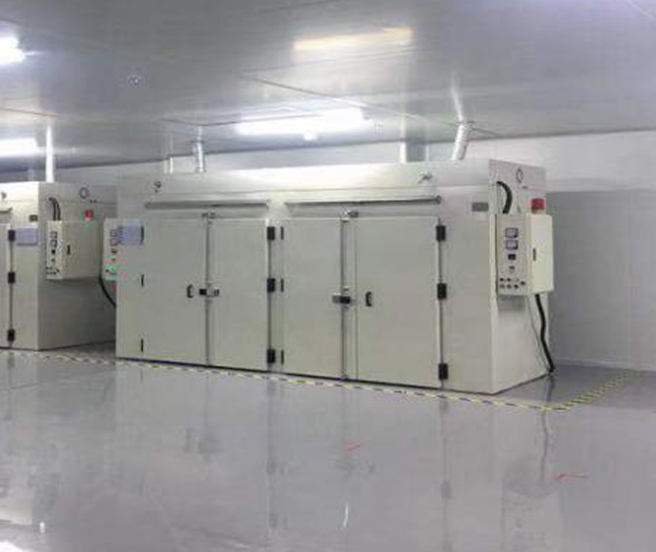
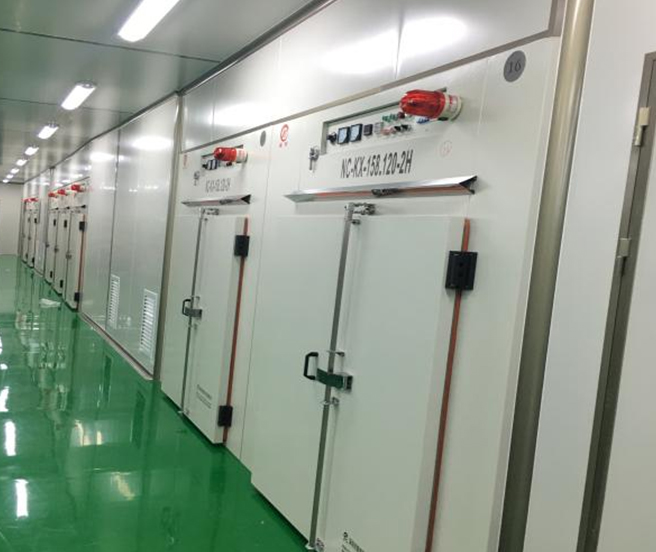
昆山歐尼斯特電子科技有限公司專(zhuān)業(yè)致力于電子,汽車(chē),光電,醫(yī)療,機(jī)械等業(yè)界的固化干燥,印刷及輥涂制程。公司在華東和華南都設(shè)立生產(chǎn)工廠,公司建有自動(dòng)化印刷輥涂與固化干燥信息中心,提供行業(yè)信息,研發(fā)系統(tǒng)解決方案,為客戶提供技術(shù)難題攻關(guān),工藝流程改善,幫助客戶產(chǎn)品升級(jí)以及簡(jiǎn)化制程并降低客戶之組裝成本。
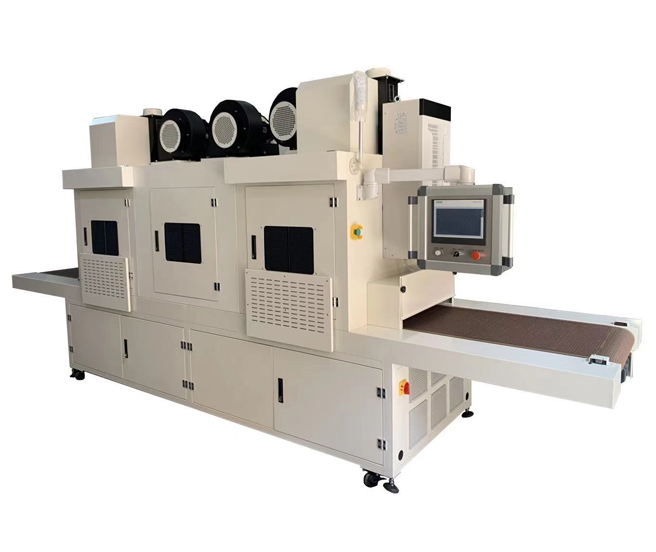
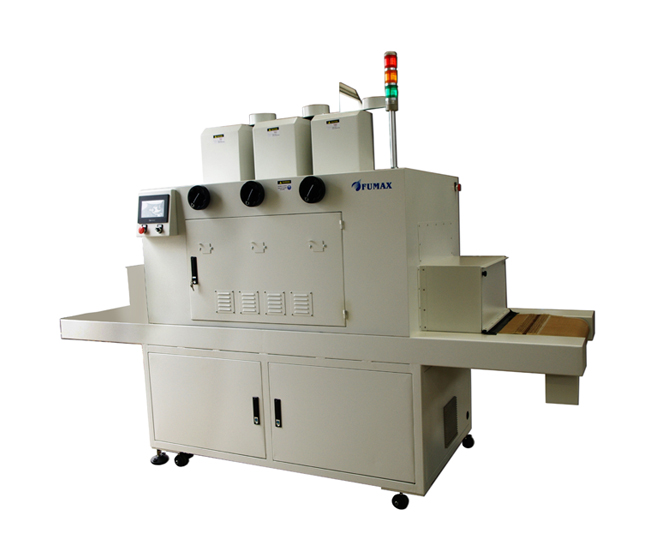
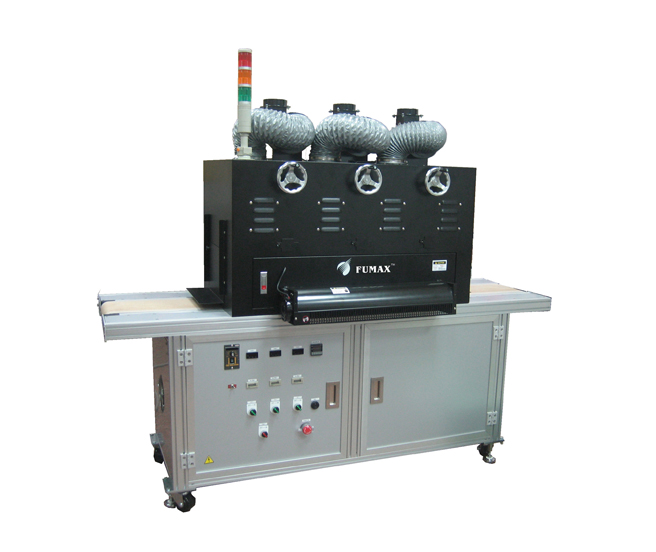
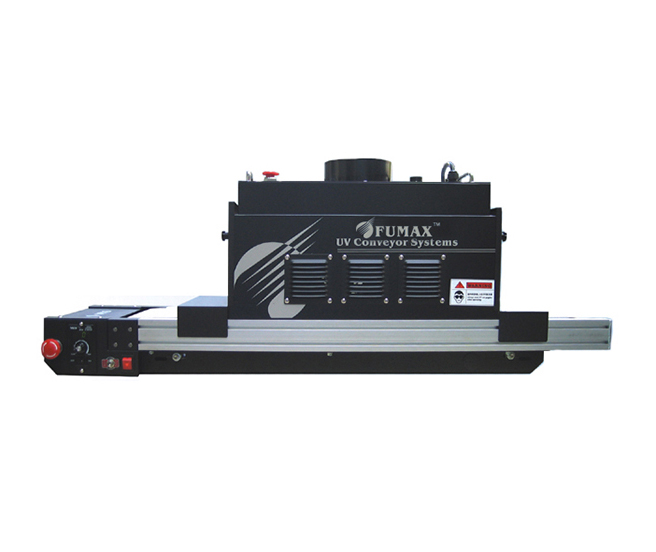
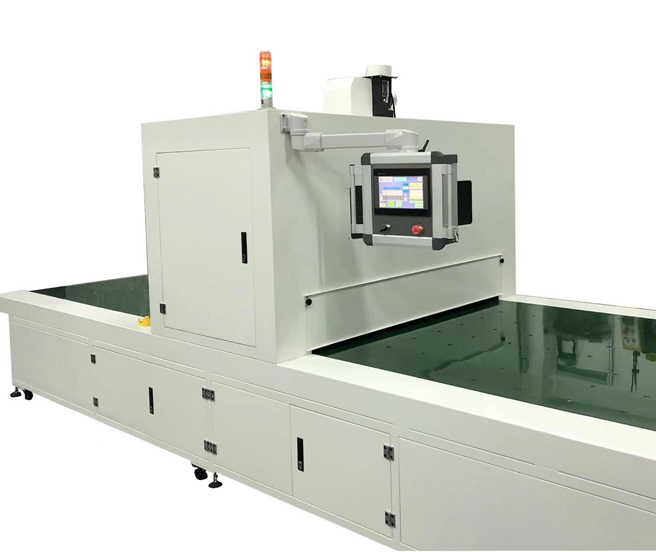
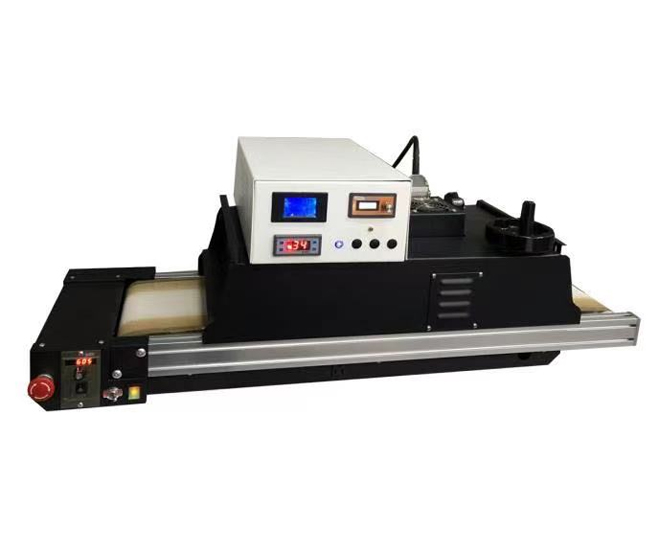
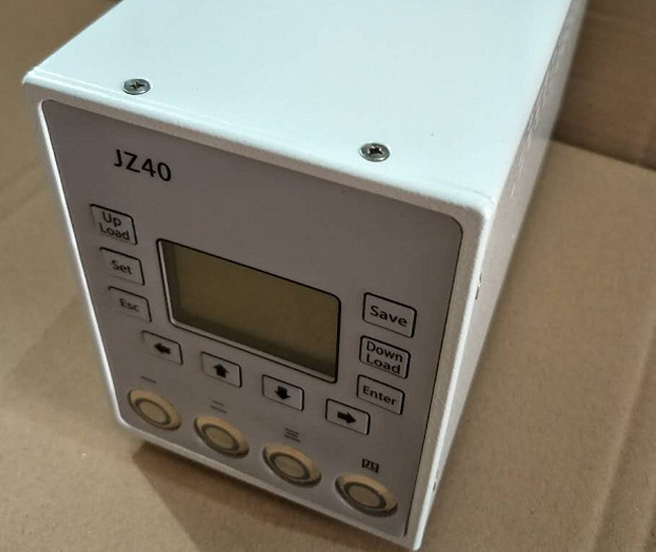
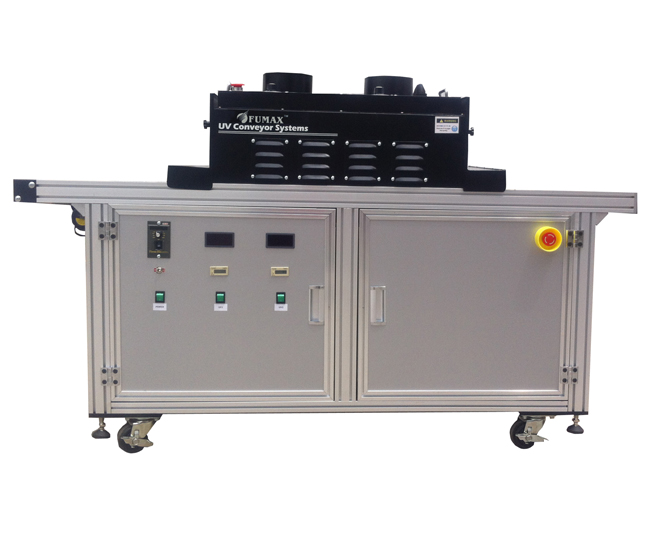
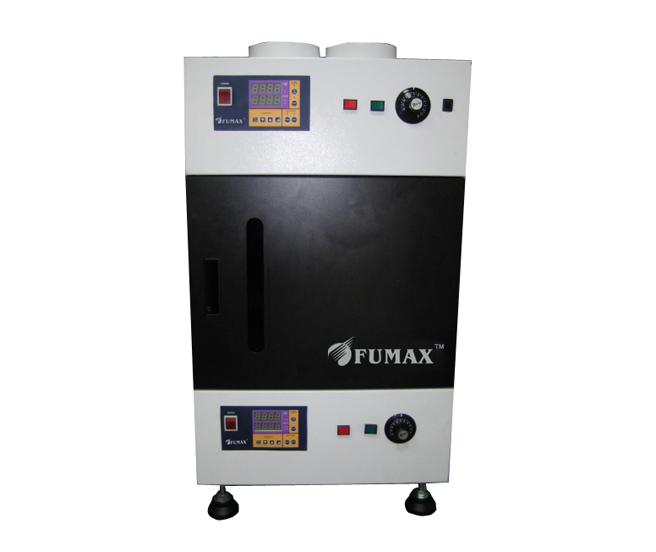
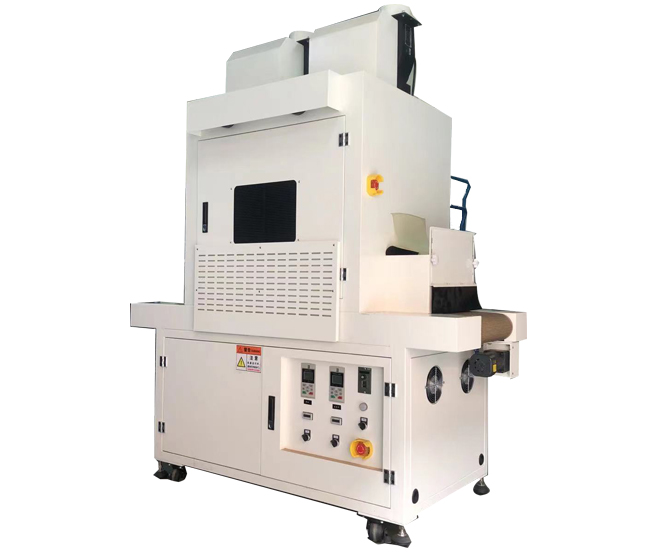
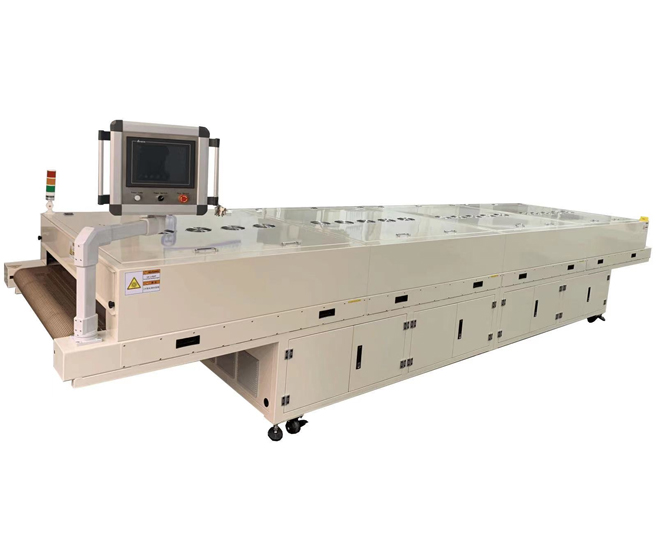
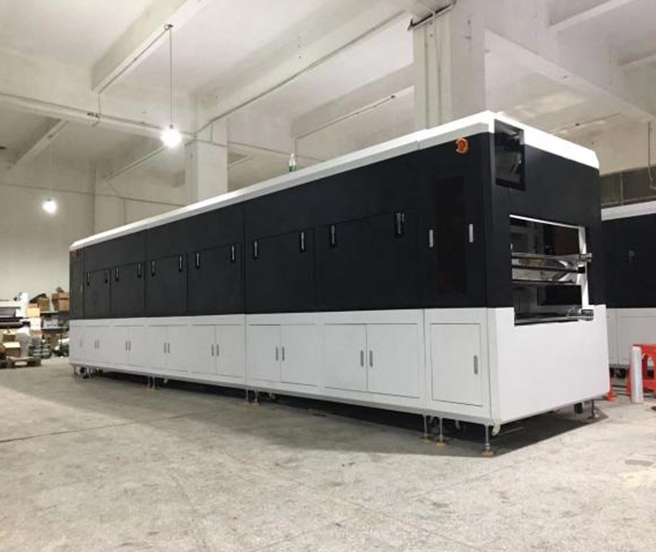
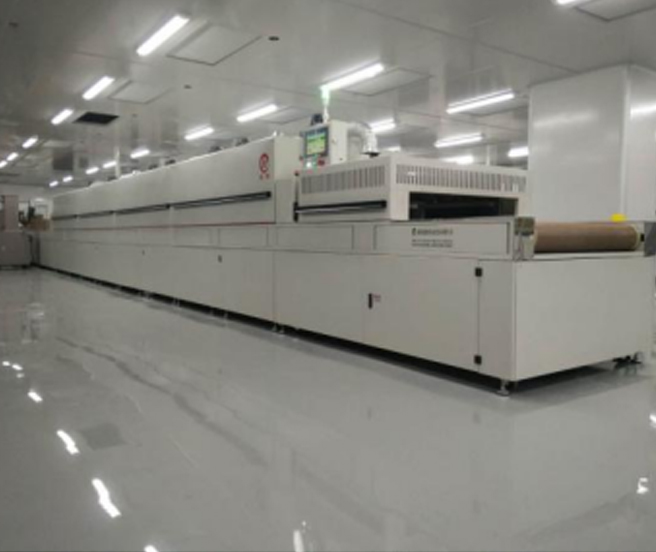
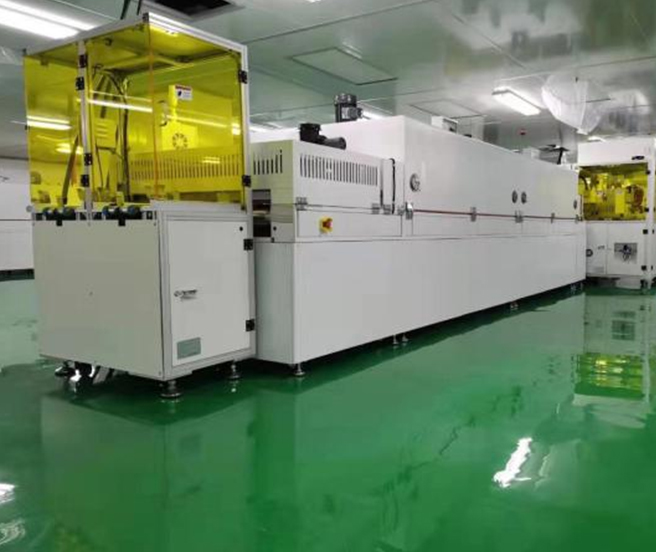
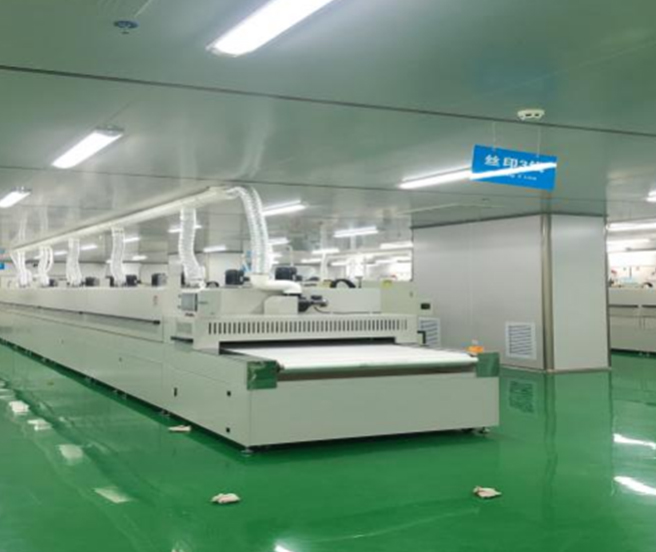
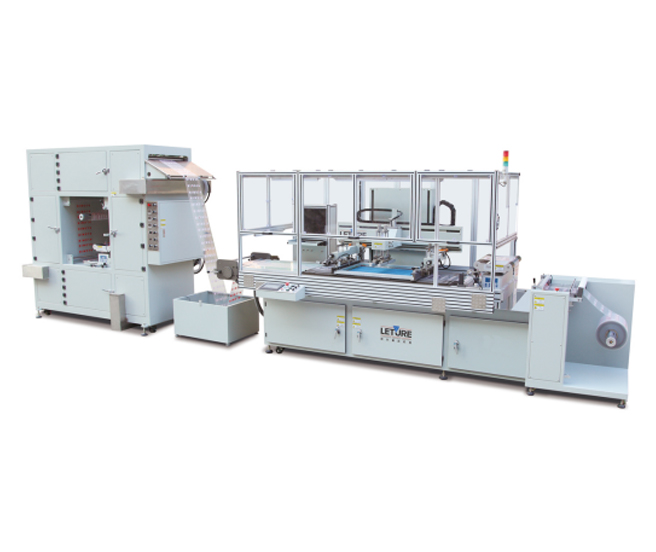
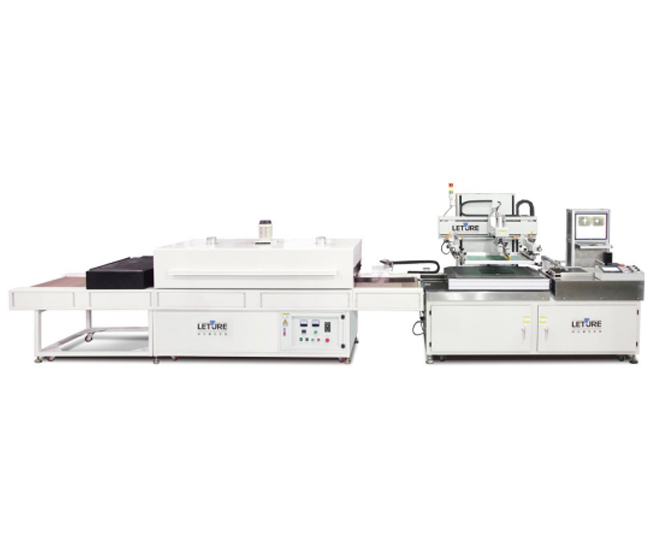
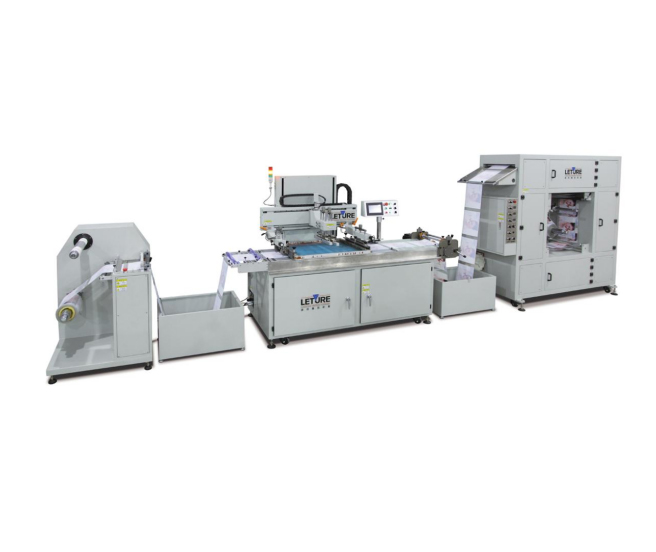
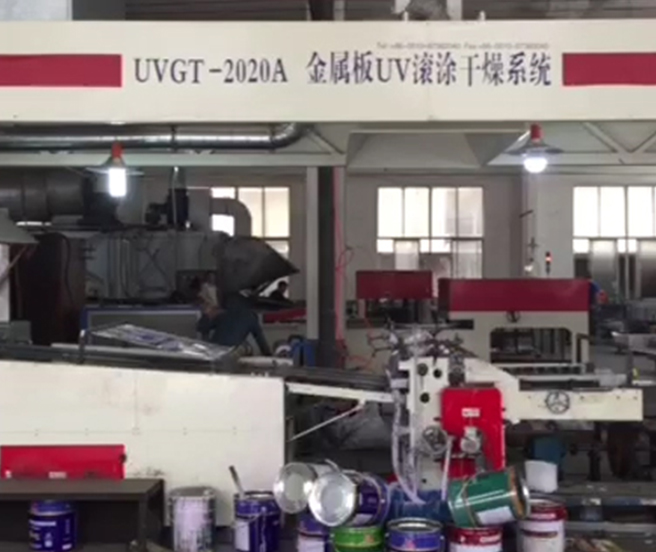
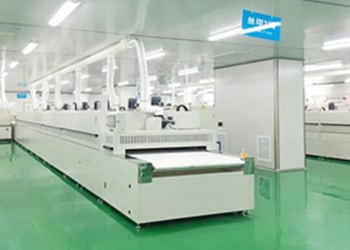
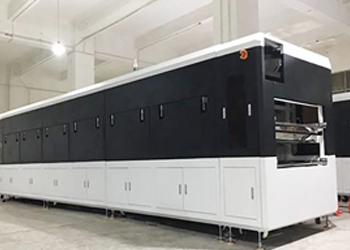
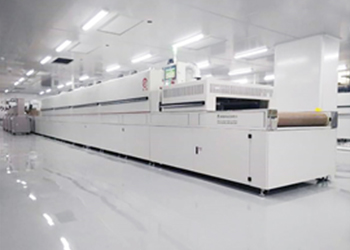
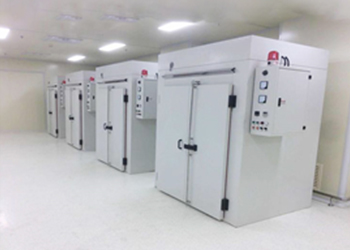
近年來(lái),為了提高生產(chǎn)效能以及降低生產(chǎn)消耗,自動(dòng)化生產(chǎn)需求日益增加。本公司藉由不斷的研發(fā)與技術(shù)突破,采用信息一體化技術(shù)、機(jī)器視覺(jué)技術(shù),實(shí)現(xiàn)超低溫UV固化、多層超潔凈IR干燥,CCD自動(dòng)印刷,自動(dòng)上下料等可為客戶量身定做適合的自動(dòng)化干燥印刷制程,達(dá)到高性價(jià)比、高能耗比、高質(zhì)量的用戶需求。
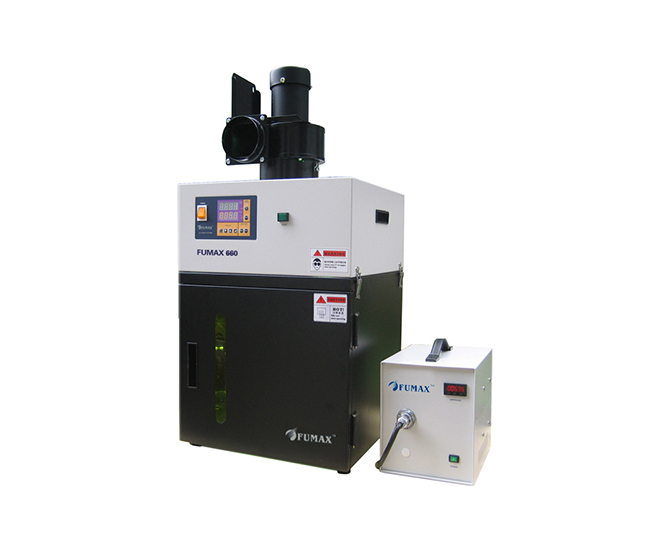
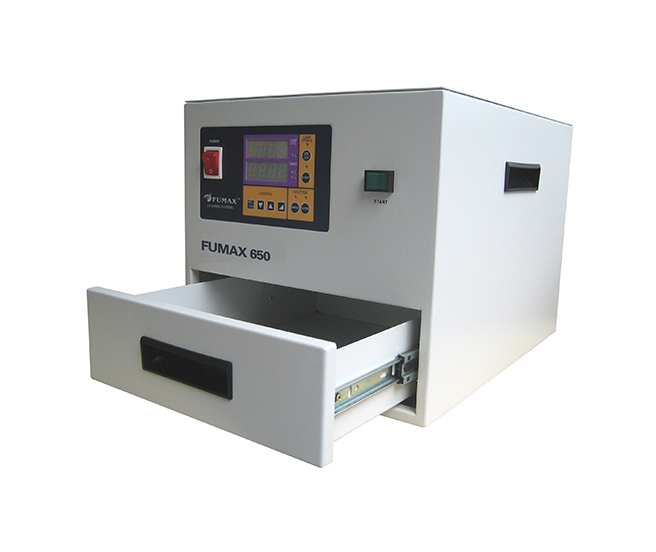
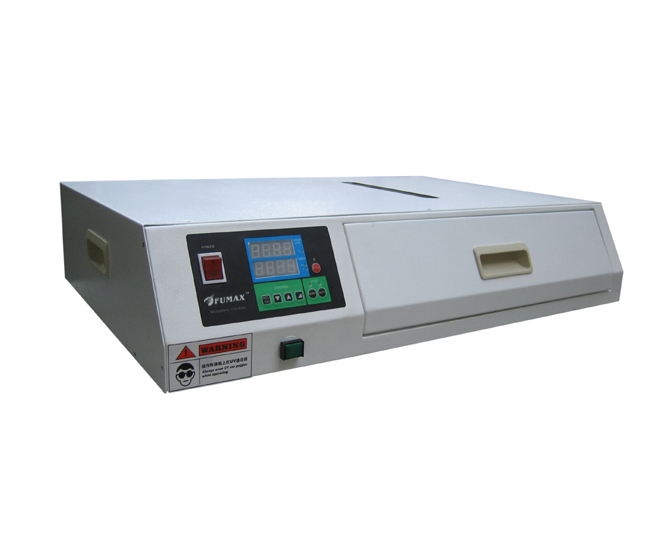
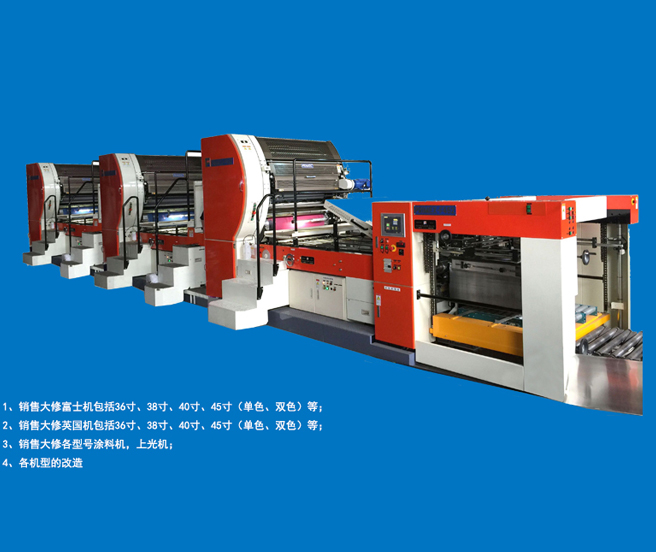
本公司與國(guó)內(nèi)外油墨,涂料,膠水等生產(chǎn)廠商聯(lián)手,從原料的選擇開(kāi)始,到固化干燥設(shè)備,印刷輥涂設(shè)備和自動(dòng)上下料等的規(guī)劃。歐尼斯特科技的產(chǎn)品線,提供給客戶較佳的印刷輥涂固化制程產(chǎn)品選擇。